Execute Workflow
workflow.workflow Workflow v0.1.0 Runs one or more sub-workflows in sequence (output → next input) or in parallel (one labelled output each).
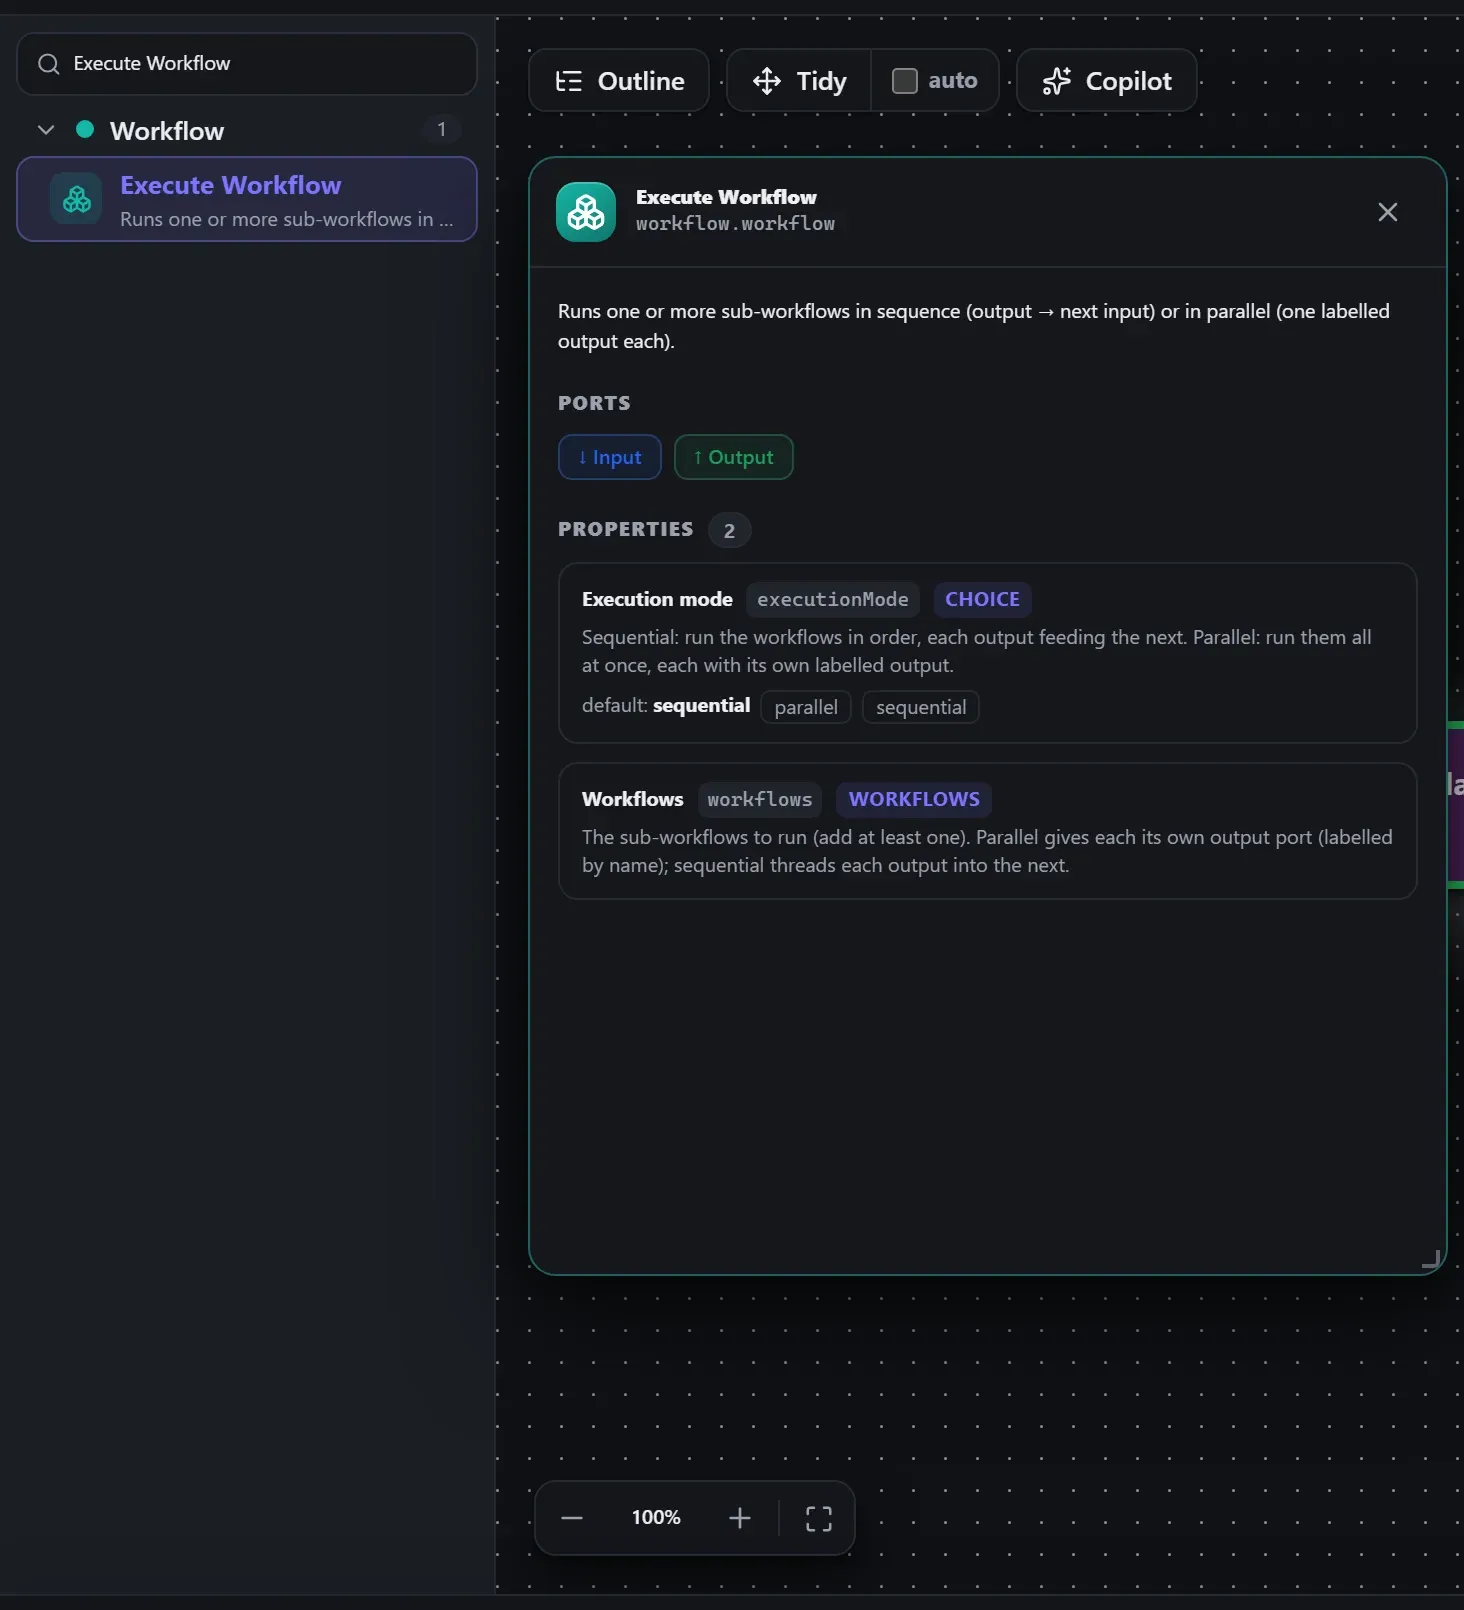
Finding it in the library
Search the builder's node library for Execute Workflow (it lives under Workflow). A single click opens the in-editor docs panel shown here — description, ports, and every property, without leaving the canvas. Double-click (or drag) to add it to the workflow.
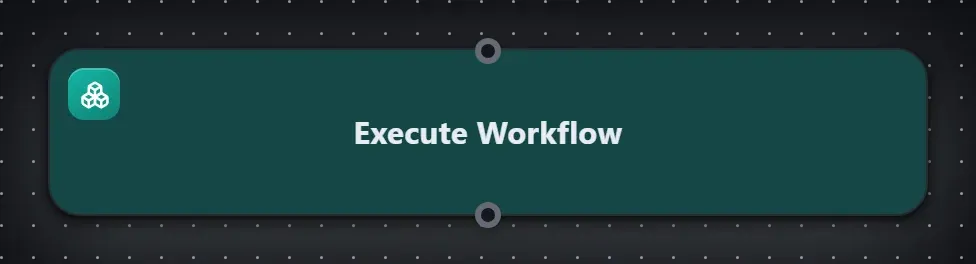
Wired up in the builder
Execute Workflow in a real, runnable flow — captured live from the Studio editor, exactly as it looks on your canvas. This is the same workflow used for the example input & output below.

How it’s configured
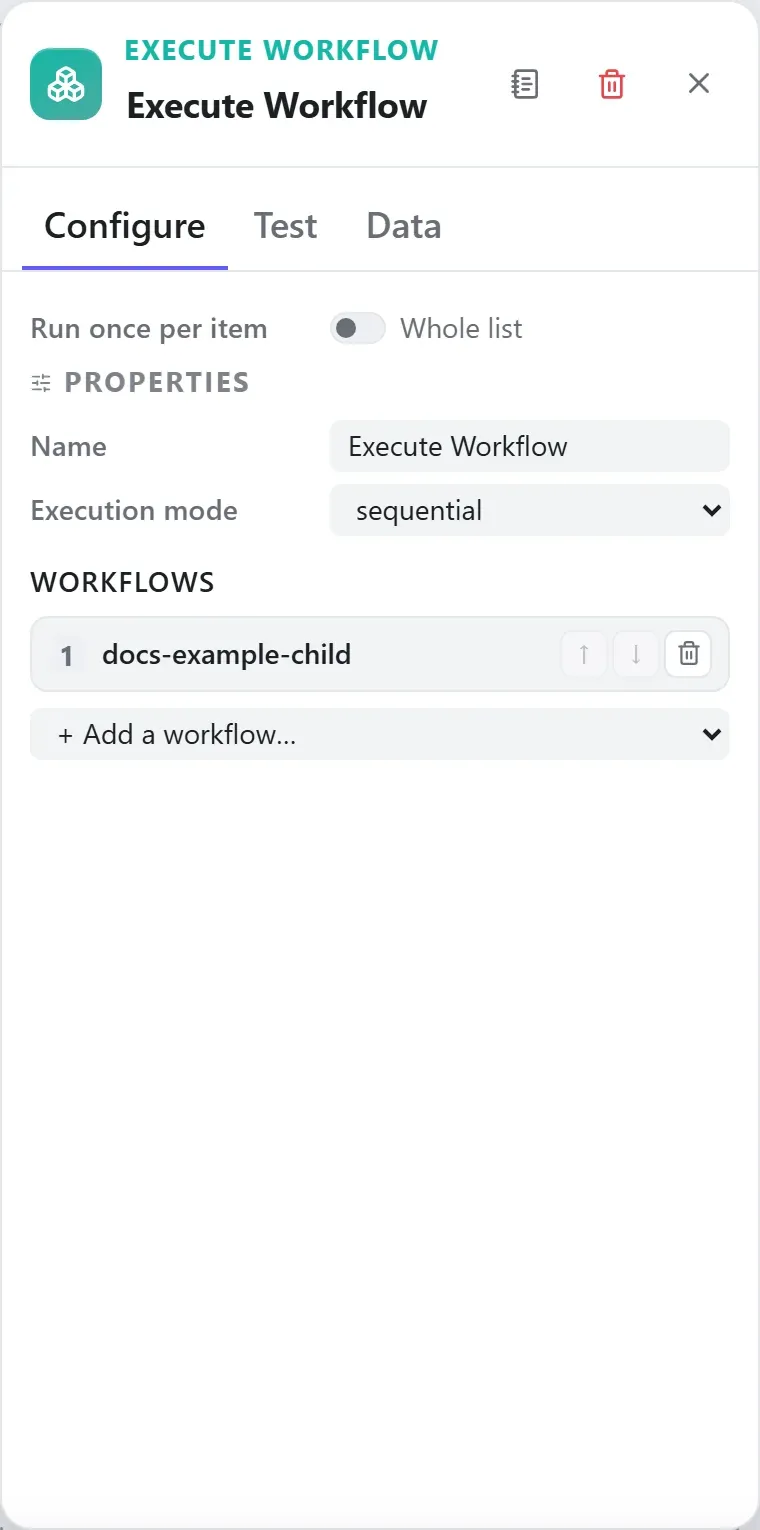
The node’s settings as the builder shows them — every field laid out with real values. In the Studio these are edited on the node: click the chevron on the divider under its ports to open them.
Ports
Ports are the node’s contract with its neighbours. In the editor a port label renders bold when wired and italic when optional; ◈ ports accept attachment carriers rather than data wires.
| Direction | Port | Label | What flows through it |
|---|---|---|---|
| Input | input | Input | |
| Output | output | Output |
In parallel mode there is one labelled output handle per configured sub-workflow (w0, w1, …); sequential mode has a single output.
How data flows through it
Execute Workflow consumes the content of the incoming envelope — when it is fed directly by a trigger, the trigger’s wrapper is unwrapped at the node boundary so the node sees the actual data, not the metadata shell. Its output becomes the payload for the next node, while the envelope (trace ids, correlation, binary refs) rides along untouched. In the Runs view you always see the whole envelope for both sides of this node.
Expressions in the config
None of this node’s properties are string-typed, so {{ }} expressions
don’t apply here — JSON- and code-typed fields are always taken literally.
Build it with AI
Every node in this reference is reachable through Flowdrome’s
AI Copilot and the
MCP tools — say what you want, and the graph surgery
happens server-side. Node types resolve fuzzily, so the catalog label
(Execute Workflow) works as well as the exact type id (workflow.workflow).
In the Copilot panel (or any connected AI):
add a execute workflow node after the triggerAs a step in a create_chain_workflow call:
{"type":"Execute Workflow","config":{}}Raw MCP call — add this node to a workflow with add_node
curl -s -X POST http://localhost:4800/mcp -H "content-type: application/json" -d '{ "jsonrpc": "2.0", "id": "1", "method": "tools/call", "params": { "name": "add_node", "arguments": { "workflowId": "<id>", "type": "Execute Workflow" } } }'Example input & output
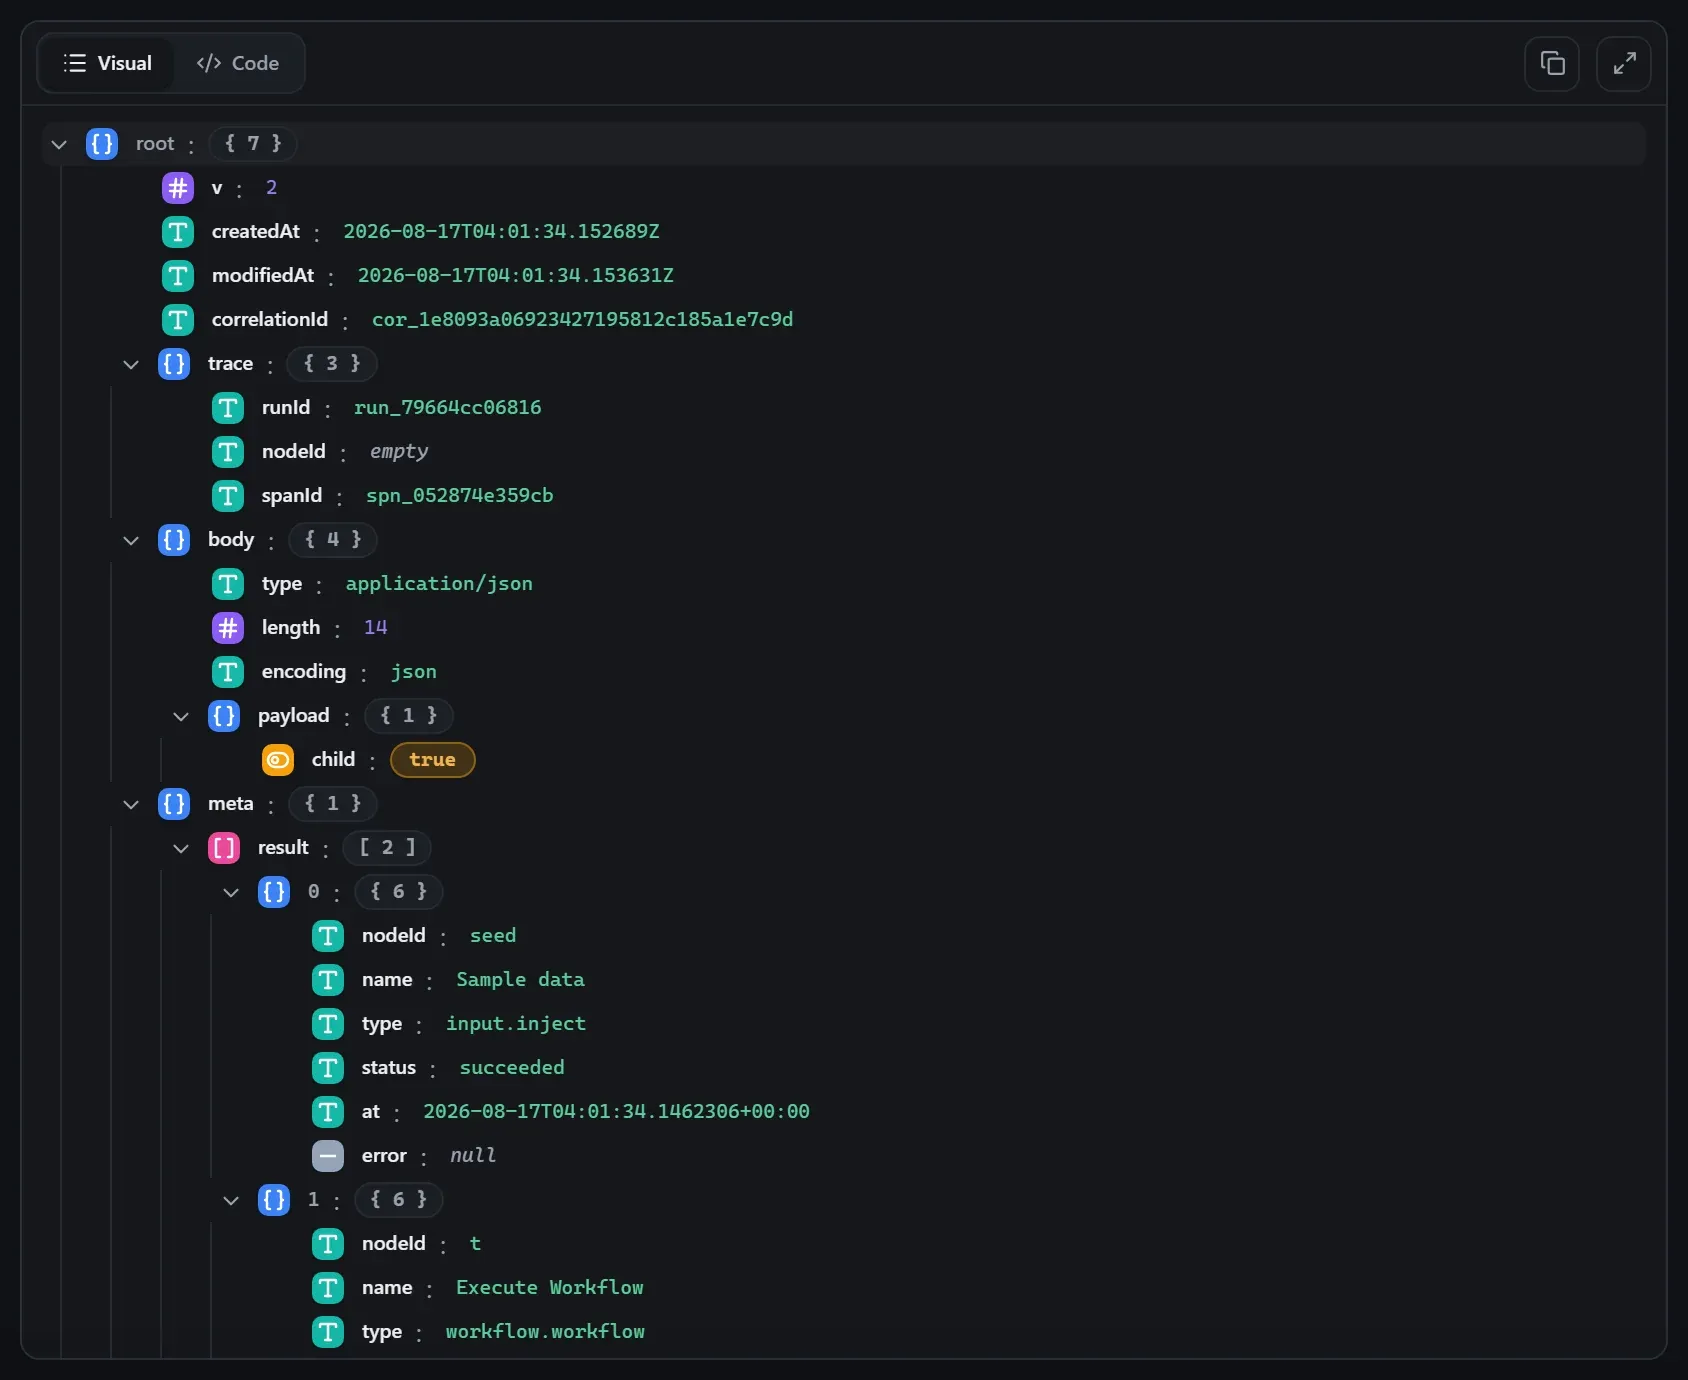
Captured from a real test run of the workflow above — this is what the Runs view shows after pressing Test workflow.
Input — what the node received
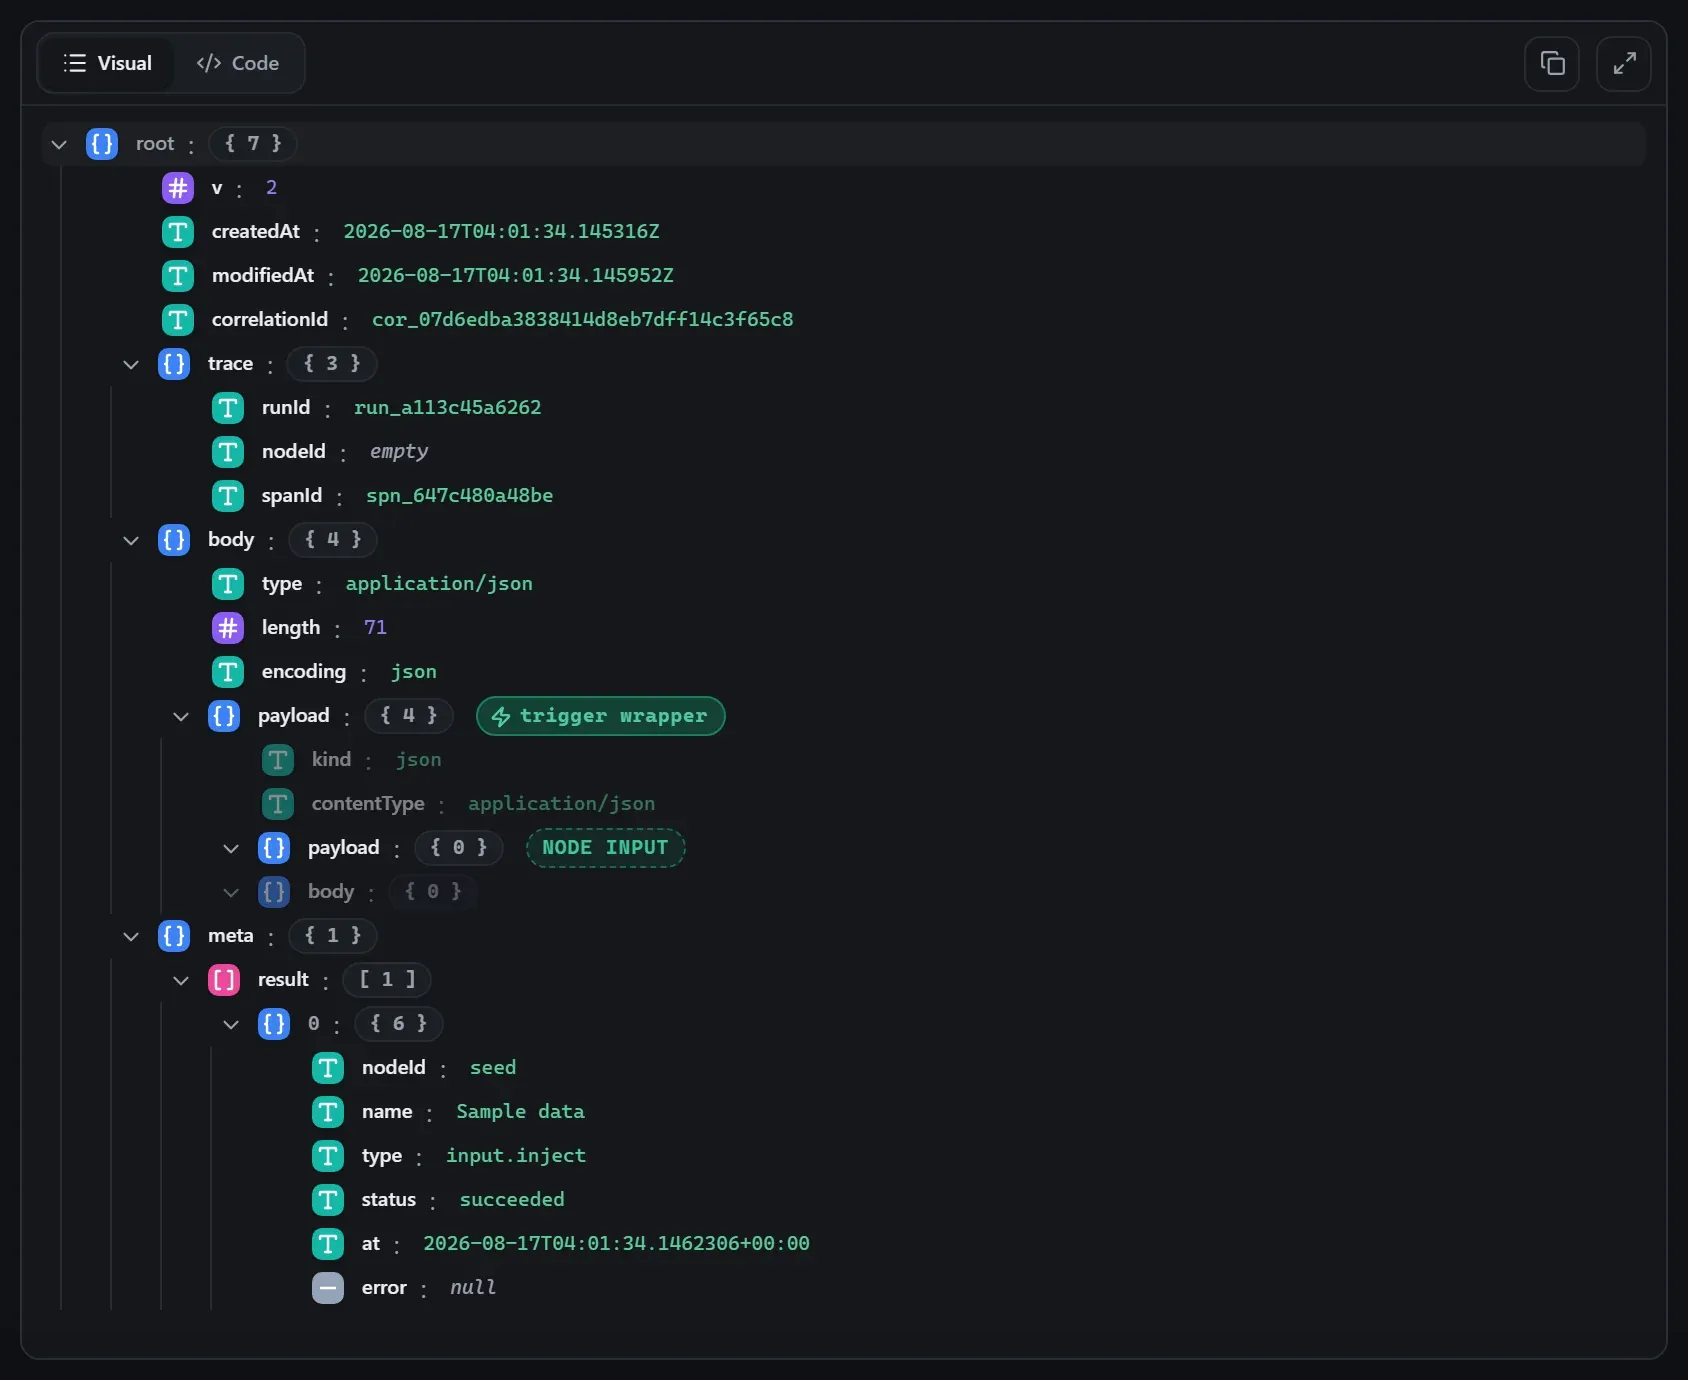
body.Output — what the node produced
Property reference
Every setting, with its type and default — the same fields shown configured above.
| Property | Type | Default | Description |
|---|---|---|---|
Execution modeexecutionMode | select | "sequential" | Sequential: run the workflows in order, each output feeding the next. Parallel: run them all at once, each with its own labelled output. parallelsequential |
Workflowsworkflows | workflow-list | [] | The sub-workflows to run (add at least one). Parallel gives each its own output port (labelled by name); sequential threads each output into the next. |
Using it
Run other workflows as steps
Pick one or more saved workflows in Workflows, choose how they run, and this node calls them as sub-workflows on the same engine:
- Sequential — they run in order, each one’s output becomes the next one’s input; the final
result leaves on
output. A clean way to build a pipeline out of reusable pieces. - Parallel — the same input fans out to every sub-workflow at once; each gets its own output port (named after it), and the node completes only when all of them finish.
The node passes the content ($json) it receives into each sub-workflow, and hands back whatever the
sub-workflow’s last node produced.
Making a workflow usable as a sub
Any saved workflow qualifies — there’s no special “sub-workflow” type. For it to receive the caller’s
data, start it with a Manual Trigger, which forwards the input as $json
(an Inject trigger would ignore it and emit its own fixed payload instead). Whatever the sub-workflow
emits at the end flows back to the Execute Workflow node.
They come along on deploy
When you deploy (or export) a workflow that uses this node, the sub-workflows are checked, brought along, and inlined into the installed document — so the host serves one self-contained workflow, every node is tracked in a single run history, and the sub-workflows don’t clutter the fleet as separate deployments. A missing sub-workflow (or a variable/credential it needs) blocks the deploy with a clear list.
Tips
- Build small, reusable sub-workflows (validate, enrich, notify) and compose them — sequential mode makes each step’s output the next step’s input.
- The node excludes the current workflow from the picker, so you can’t accidentally recurse into yourself; a genuine cycle across workflows is caught at deploy time.
- Step-debugging into a paused Execute Workflow node offers Dive into a sub-workflow — it runs the child seeded with the same input, with a breadcrumb and Return.
Related nodes
The rest of the Workflow group — the same folder you’d scan in the editor’s library.
This page is generated from the node registry by gen-node-docs.mjs on every
site build — ports, properties, defaults and visibility rules cannot drift from the code.
The screenshots and example data are captured from a live Flowdrome by
npm run shots:nodes and npm run gen:examples.
The hand-authored notes above are merged in.